
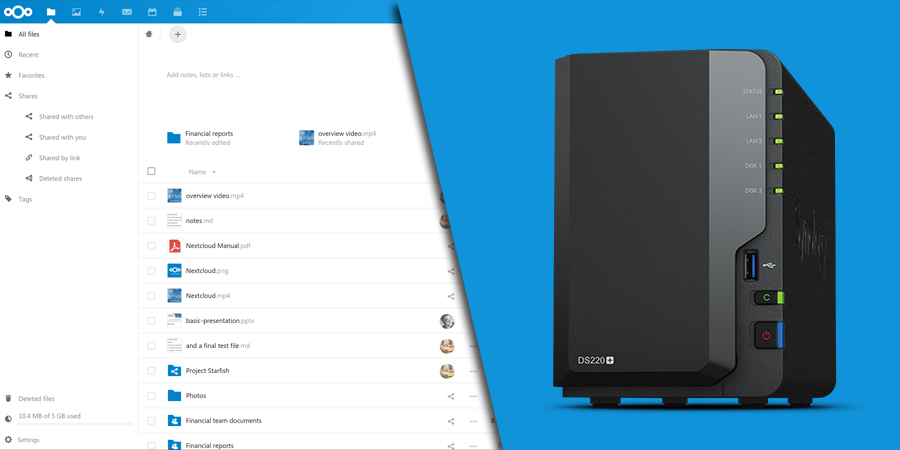
The new DSM 7 is here and here and the demand for Nextcloud is still very high. Synology offers its own cloud solution, Synology Drive, but it’s nowhere near as extensive and flexible as Nextcloud. Be it calendar and contact synchronization or the apps and web interface, there are many reasons for Nextcloud on a DiskStation. The article explains step by step how to install Nextcloud on a Synology NAS.
Preperation
Hint
Always types up commands for the command line yourself, do not copy them from the post. Double and single quotation marks are formatted differently in the text than in the command line. If you copy the characters, you adopt the wrong formatting, the characters are not recognized and the commands do not work.
Also creates scripts directly via the command line (with vi). If you create scripts with an editor on your computer and upload them to your DiskStation, they may contain control characters that prevent execution.
Before we can start, check if you already have installed the Web Station, if not do so. You also need SSH access (to be found in the Control Panel under Terminal & SNMP) on your NAS (e.g. with PuTTY).
Important: If you are currently using Nginx as a web server, you have to switch to Apache HTTP Server 2.4 in the Web Station under General Settings > HTTP Backend Server. Nextcloud does not run under Nginx without configuring it beforehand. So far there is no working configuration for Synology in the community. You can set up a vhost for Nextcloud that uses Apache, then you can switch the rest of your DS back to Nginx.
You have to install following packages from the Package Center:
- PHP 7.4
- phpMyAdmin (only needed in case of installation issues)
- Apache (2.4)
- MariaDB 10
Open MariaDB 10 and tick “activate TCP/IP connection”.
Shared Folder
Creates a new shared folder to store the data. Nextcloud saves the data by default in the data folder under /web/Nextcloud. For security reasons, Nextcloud recommends creating the storage location outside of the /web folder. This also makes it easier to upgrade from Nextcloud at a later date. Nobody else should have access to the shared folder and even as an administrator you should only make changes there if they affect your Nextcloud installation. You should then make these changes via PuTTY as root, otherwise the ownership will change and Nextcloud can no longer access the folder/files. Create the shared folder via DSM > Control Panel > Shared Folder, if you create the folder via PuTTY, DSM does not recognize it and you cannot save it e.g. via Hyper Backup.
So that PHP can also access the shared folder, the path must be entered in open_basedir. Details can be found in the section “PHP Profile“.
Open PuTTY and connect to your DS. Log in as an administrator. To execute the commands as root enter sudo –i and press (Enter). Enter your administrator password again. Enter the following 2 commands so that Nextcloud or the user of the web server can also access it:
chown http:http /volume1/nextcloudData
chmod -R 777 /volume1/nextcloudData
PHP profile
Virtual Host
I recommend using a virtual host for your cloud. Nextcloud can thus be better secured, causes fewer problems afterwards and you can then use an individual PHP profile. Without a virtual host, all websites and applications use the same web server and the same PHP profile, which can lead to configuration conflicts. More on this below.
Open the Web Station and create a new profile under Script Language Settings.
- Enter a name and a description.
- Select PHP 7.4.
- Tick “Enable PHP cache”.
- Tick “Customize PHP open_basedir” and enter
/tmp:/var/services/tmp:/var/services/web.Now add the path to the shared folder created above (don’t forget the : ). It could look like following line:/tmp:/var/services/tmp:/var/services/web:/volume1/nextcloudData - Activate following PHP extensions: bcmath, bz2, curl, ftp, gd, gmp, iconv, imagick, intl, mysqli, openssl, pdo_mysql, posix, sodium, ssh2, zip, zlib
Webserver Timeout
In DSM 7, Synology has set a general timeout for the Nginx as a proxy server (which is always active, even if you use Apache as a web server). However, the timeout no longer applies as soon as a virtual host is used. Anyone who knows my previous instructions for Nextcloud on Synology Diskstation will know where the timeout can be set under DSM 6. However, this does not work under DSM 7, because the entry conflicts with that of Synology.
- Connect to your NAS via SSH (e.g. PuTTY). Make the changes as root.
- Open the file
/var/packages/WebStation/target/misc/VirtualHost-nginx-mustachein the editor.
vi /var/packages/WebStation/target/misc/VirtualHost-nginx-mustache
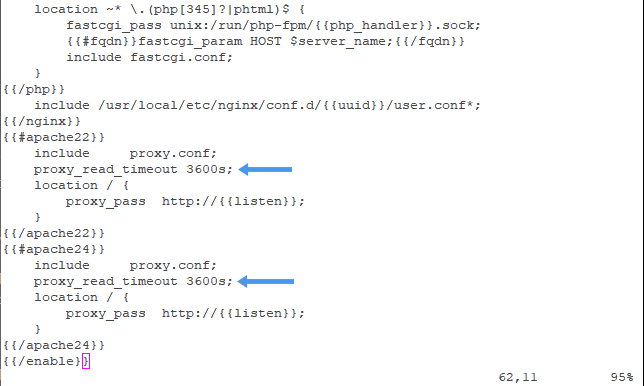
- Add the
line proxy_read_timeout 3600s;in the block for Apache 2.2 or Apache 2.4 underinclude proxy.conf;. Make the change in the block that matches the Apache version used. You can also insert the line in both blocks. - Save and close the file.
- First tests the Nginx configuration, then restarts the Nginx if the test is positive and then tests the config again:
nginx -t
synosystemctl restart nginx
nginx -t
The timeout for the proxy is now also increased when using virtual hosts. Now Apache can still time out. As with DSM 6, this can be fixed:
- Create the file
/usr/local/etc/apache2X/sites-enabled/user.conf(as root).
vi /usr/local/etc/apache24/sites-enabled/user.conf
- Inserts the two lines
TimeOut 3600andProxyTimeout 3600. - Save and close the file.
- Restarts the Apache.
Without vHost
If you don’t want to use a vHost, the timeout has to be adjusted differently, more on this in this article.
In addition, you have to edit the entry “Default Back-end” in the Web Station under Web Service Portal and select Apache 2.4 as the backend server as well as the created PHP profile.
Installation
Download the latest version of Nextcloud as a .zip or .tar here. Upload the zip file to your DiskStation and extract it into the / web folder.
Tipp
To increase security, you can rename the Nextcloud folder. This prevents it from being found by crawlers searching web roots for standard names.
Now would be the right time to create the virtual host. You can also create the vHost after the installation.
To do this, select Web Service Portal in the Web Station and create a new entry with Create > Service Portal > Virtual Host.
- Enter the host name under which you want to reach your Nextcloud. (The host name must exist and point to your DiskStation, more on this in this article.)
- Select the ports to which the virtual host applies (usually 80/443).
- Select the Nextcloud folder (/web/Nextcloud) as the document root.
- Be sure to activate “HSTS” and “HTTP/2”, this ensures that all http access to your cloud is redirected to https. However, this requires a valid SSL certificate that was issued for the domain used. You can also find instructions for this in the previously linked article.
- Select Apache 2.4 as web server and the previously created PHP profile.
Changes the privileges of the Nextcloud folder. It is best to create a script (text file with .sh extension) with the following content somewhere on the DiskStation:
#!/bin/bash
chown -R http:http /volume1/web/Nextcloud/
chmod -R 777 /volume1/web/Nextcloud/
To run the script as root, enter sudo –i and press Enter. Enter your admin password again. Now execute the script with sh /volume1/PathToScript/Installprivileges.sh. Instead of the script, you can also enter it line by line in the shell, but this is tedious because you have to change the privileges with each update.
Hint
The privileges are only intended for installation, for safe operation the access rights should be kept as strict as possible. Read here how to adjust the privileges after the installation.
Faulty database code
The Nextcloud setup automatically creates a database including tables and its own user. A syntax is used that causes problems with Synology’s version of MariaDB 10. In order for the installation to be carried out correctly, the problematic lines must be adjusted:
- Open (with PuTTY) the file
/volumeX/web/Nextcloud/lib/private/Setup/MySQL.php - Scroll almost to the end and look for the following line:
$this->dbPassword = $this->random->generate(30, ISecureRandom::CHAR_DIGITS . ISecureRandom::CHAR_LOWER . ISecureRandom::CHAR_UPPER);
- Remove “
, ISecureRandom::CHAR_DIGITS. ISecureRandom::CHAR_LOWER. ISecureRandom::CHAR_UPPER“, the result looks like this:
$this->dbPassword = $this->random->generate(30);
- Save and close the file.
Attention
After the installation you have to undo the change, otherwise you will get an error message from Nextcloud’s file integrity check.
Execute the installation assistant
Open Nextcloud in the browser. Make sure to use the address you have given for the virtual host (e.g. cloud.mydomain.com), if you have not configured a virtual host, use the IP, the name of the DiekStation or a domain that points to the DiskStation, followed by the Nextcloud- Directory (e.g. mynas.synology.me/Nextcloud) The address you use here is entered as a trusted domain during the installation. If you want to allow Nextcloud from other domains you have to enter this later in the config.php. This is the case if, for example, you want to access the cloud later via your own domain or DynDNS, but use the local name or the local IP of the DiskStation during installation.
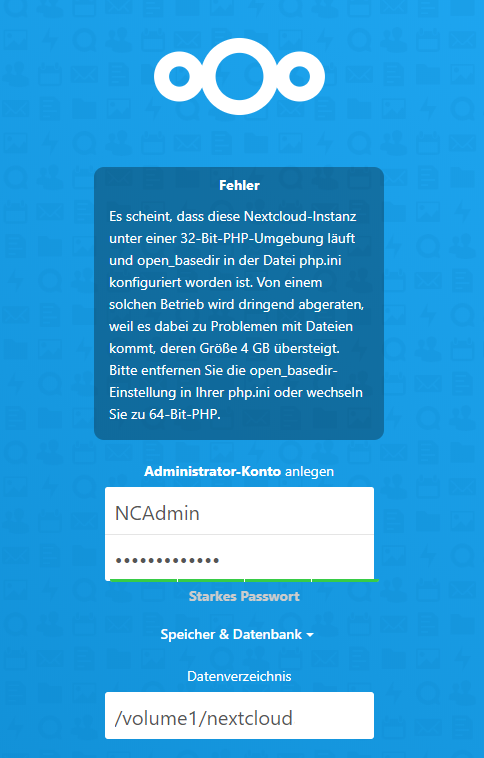
You can just ignore the error, you will only see it if your DiskStation does not have a 64bit CPU. Enter a username and password for the Nextcloud admin (the NC admin has nothing to do with the admin of the DiskStation). Under Storage & Database > Data Directory, /volumeX/web/nextcloud/data is entered by default, enter the path to the shared folder that you created earlier.
In the “Database” section you enter the MariaDB root user and the password. Alternatively, every user who has the right to create databases works. The user is only used for installation. A separate user is created that Nextcloud uses for operation. Assign a name for the database. Localhost is preset for the database domain, you still have to add the port. MariaDB 10 has port 3306 in DSM 7 and not 3307 as before. You can change the port in MariaDB 10.

New since Nextcloud 18 is the option to install recommended apps. If you want to use the integrated collaboration solution OnlyOffice, the app of the same name must be installed. You can leave out the apps at this point and install OnlyOffice afterwards. That makes sense, especially since you can only use Talk and OnlyOffice on DiskStations with an x86-CPU. The apps are very large, you don’t need them, save storage space and time and install e.g. Calendar and Contacts yourself afterwards.
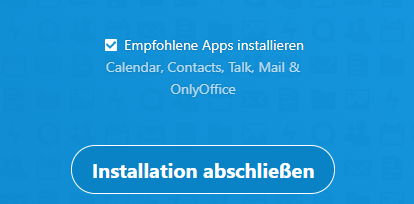
Click the “Finish Setup” button to complete the setup. After a few moments the installation is complete and you should see the web interface.
Prevent issues
Before the installation, the installation script for the database had to be adapted. However, Nextcloud checks all files belonging to the Nextcloud installation for changes and issues a warning message. That could also interfere with the update. So open the file /volumeX/Nextcloud/lib/private/Setup/MySQL.php again and undo the changes. To do this, inserts the removed command segments again. Alternatively, you can also take the file from the Nextcloud zip and copy it over. But then adjust the privileges again.
Activate OnlyOffice
So much about “integrated”, even if you installed OnlyOffice during the setup, nothing works yet. Nevertheless, the integration is a step forward. So far, OnlyOffice had to be set up in a Docker container and Docker on DiskStation is no fun (the Synology version of Docker works differently than the official version). The integrated version of OnlyOffice makes Docker superfluous. But that doesn’t change the fact that OnlyOffice still requires an x86 CPU. If an ARM CPU is installed in your NAS, you can skip this section.
Not officially documented, another app has to be installed. Open the app store by clicking on your account on the right in the web interface and select + Apps there.
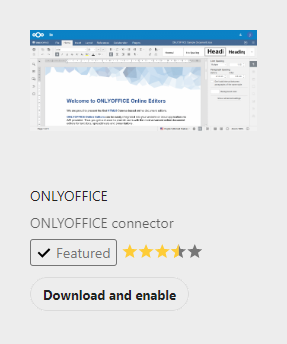
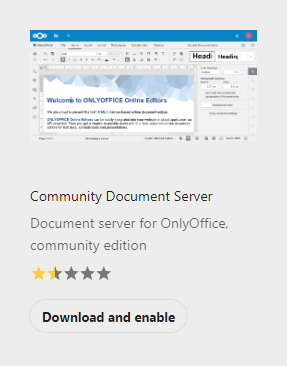
If you haven’t installed the recommended apps: Search for the ONLYOFFIC app. You can find it in the “Office & Text” section. Download and activate the app. Then look for the Community Document Server app, also under “Office & Text”. Download and activate the app.
Installation Issues
The Community Document Server app has over 200 MB, should you have problems installing it via the browser, you can also do this via the command line. Executes sudo -u http php74 -d memory_limit=512M occ app:install documentserver_community. It is important to increase the memory limit. The process then takes some time, the app is quite large.
Synology is causing problems here again. One file is missing, but with a few extra steps we can get that under control.
- Download libstdc ++ 6 for Debian here.
- Unpack the following file:
data.tar.\usr\lib\x86_64-linux-gnu\libstdc++.so.6.0.25 - Rename the file to
libstdc++.so.6.
Attention
There is already a file with this name in the archive, but this is a symbolic link and not a file, unpacking fails, hence the detour via the real file and renaming.
- Upload the file to your DiskStation.
- Copy the file with PuTTY:
cp <PathToFile> /volume1/web/nextcloud/apps/documentserver_community/3rdparty/onlyoffice/documentserver/server/FileConverter/bin
- Adjust the privileges and owner of the file. The owner must be http http. Use the commands given under “Installation“.
Community Document Server Update
If you update the “Community Document Server” app, you have to copy the libstdc++ file again, as it will be deleted during the update.
- Now go to the admin area: Right, on top, click on the account and select Settings. In the navigation area you can select ONLYOFFICE. Check whether the settings are available. The URL of your Nextcloud must be entered under “Service address”. If you use https – which I strongly recommend – the URL must correspond to the domain to which the SSL certificate is issued.
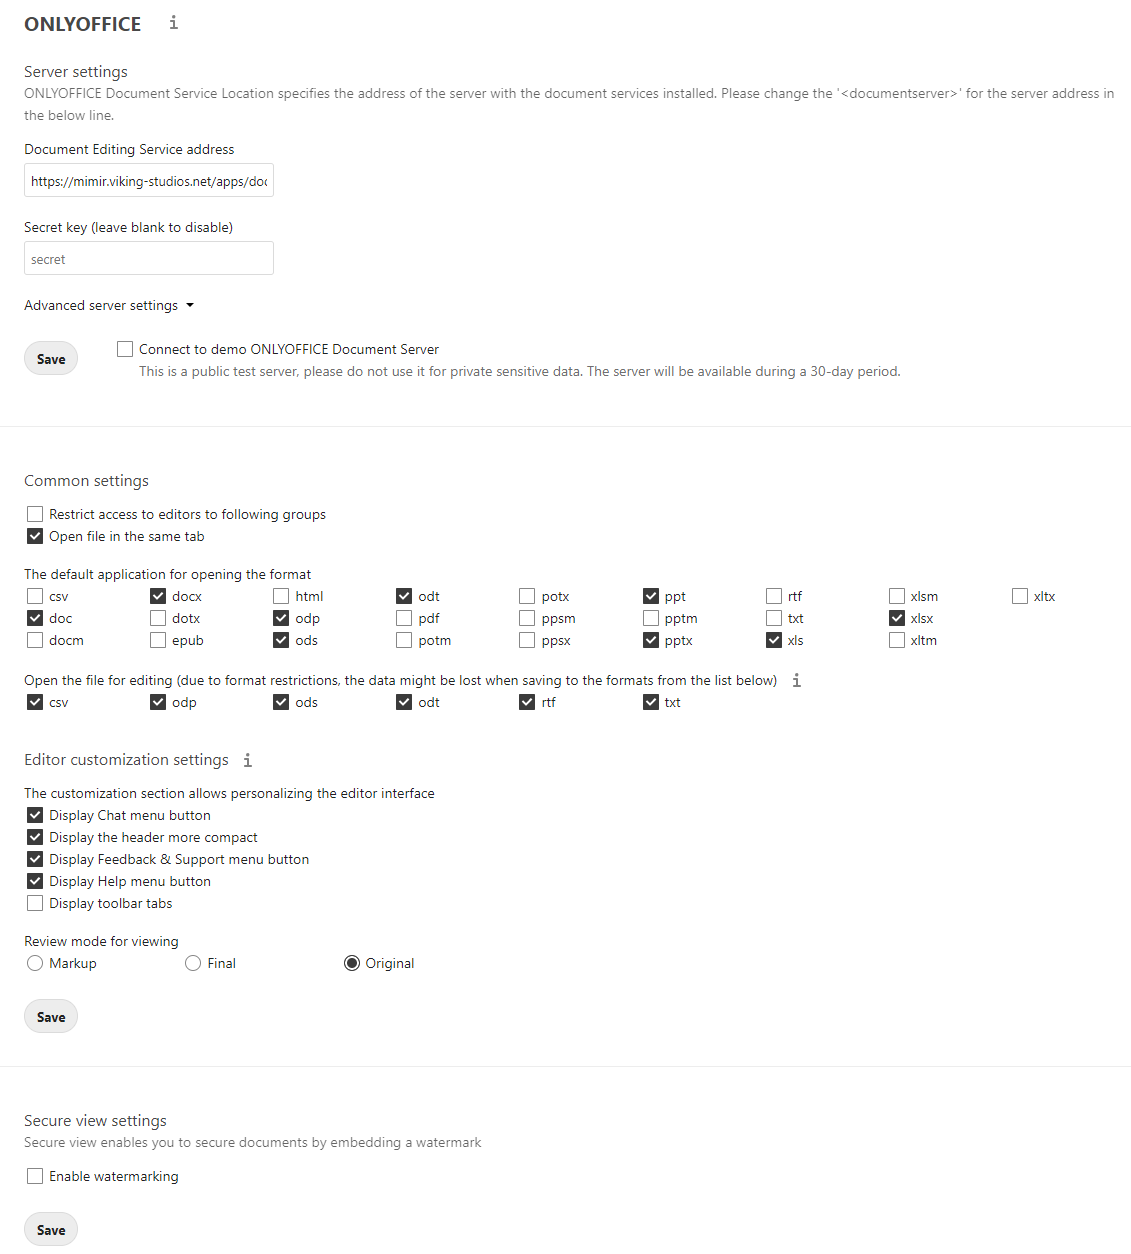
That’s it. If you click on a document in the “Files” area, OnlyOffice opens and you can edit it in the browser. If only the selection for a download appears, OnlyOffice is not active. If “Community document server is not supported for this instance, please setup and configure an external document server” appears, then you have to look for the exact error message in the log. To do this, you have to go to Logging in the admin area. If there is “OCA\DocumentServer\Document\DocumentConversionException: sh: ./x2t: cannot execute binary file: Exec format error” then your DiskStation has an ARM CPU and OnlyOffice does not run on it.
Next Steps
Now you can use Nextcloud directly in your browser, or you can download the client. The client works in a very similar way to Dropbox’s. You can synchronize your entire cloud with your computer or just individual folders. Synchronizing individual folders is also very helpful if you already have an existing folder structure for your data (images, videos, files, etc.) – e.g. on different drives – and you want to keep it. The client also enables the use of multiple Nextcloud instances. The client app for smartphones also offers the option of automatically uploading images. The data itself is not all downloaded to the smartphone until you call up individual files via the app.
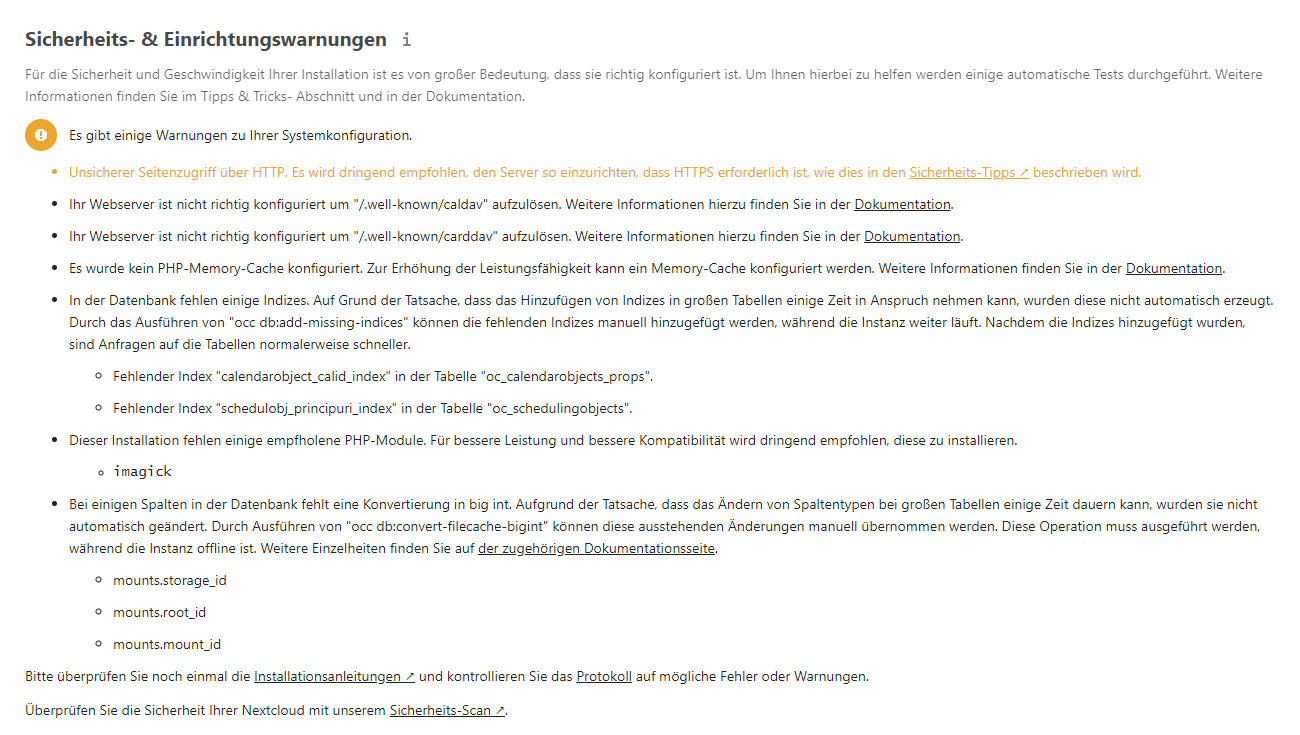
In the admin area under Overview you will most likely see some errors. You will find out how your Nextcloud is optimized and configured for actual use next time.
Attention
Before you actually use Nextcloud, you should definitely carry out the optimization measures. Firstly, your cloud is not yet adequately secured; secondly, you still have to improve its performance.
Would you like more detailed step-by-step instructions for your Synology NAS, with a lot more background information, tips and tricks? Then get my knowledge as a comprehensive practical manual. You won’t find more information in any book about Synology and everything in the quality I’m used to.
The new edition is completely reworked for DSM 7.
Hi,
Since upgrading to DSM7 the cron is not working. I am using
DSM 7.1-42661 Update 1
which comes with PHP80
I followed all your steps but cron still reports that there is no memchache and stops.
Any ideas?
thanks